Color grading is a critical aspect of post-production that makes videos look professional, cinematic, and polished. It beautifies the mood, tone, and general narrative of a scene by altering colors, contrast, and brightness. If you wish to provide your videos with a professional Hollywood-style finish, basic color grading methods are the way to start.
One of the critical methods is color correction prior to grading. It involves correcting exposure, white balance, and contrast to ensure your footage appears natural and uniform in all shots. You can accomplish this with editing tools such as DaVinci Resolve, Adobe Premiere Pro, or Final Cut Pro. The process guarantees that the base footage is clean and ready for additional grading.
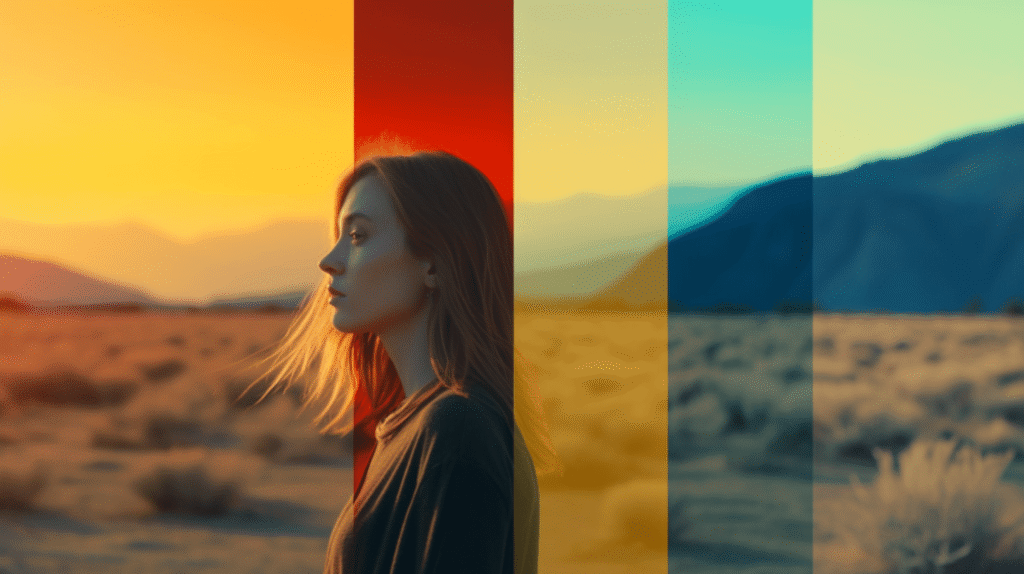
After correction is applied, you can proceed to color grading, the artful bit. Hollywood movies tend to employ a color scheme that aligns with the tone of the narrative. For instance, action movies might employ a teal and orange aesthetic. This entails increasing skin tones (orange) and desaturating shadows (teal), generating a bold contrast. You can achieve this by utilizing the color wheels in your application to manipulate highlights, midtones, and shadows individually.
Another widely used method is applying LUTs (Look-Up Tables). These are pre-programmed color profiles that can instantly give your video a cinematic appearance. Most Hollywood movies employ special LUTs to ensure consistency in style throughout the movie. You can either produce your own LUTs or download professional ones from the internet and apply them to your footage. They are time-saving and provide you with a solid foundation.
S-curve contrast adjustment is another important trick. It involves utilizing a curve graph to enhance contrast by dragging shadows down and bringing highlights up. It makes the image stand out and gives depth to dull footage. Used together with saturation adjustments, it maximizes the color richness.
Isolating the skin tone is also very important. In Hollywood movies, skin tone is painstakingly maintained while everything else is stylized. You can isolate skin tone using masks or qualifiers in DaVinci Resolve and maintain skin tone as natural while creatively treating the background or shadows.
Lighting also has a significant influence on the quality of your color grade. Using properly lit footage allows you more freedom of choice during post-production and improved results. Filing in log mode or RAW provides more information to edit and more flexibility when grading.
Conclusion
It’s all about technical ability married to creative vision to get a Hollywood appearance using color grading. Begin with appropriate color correction, utilize LUTs and color wheels for stylization, and make contrast and saturation corrections for depth. Practice and the proper software allow you to transform basic footage into cinematic shots. Whether shooting a short film, commercial, or YouTube production, these skills will elevate your productions to the next level and provide that professional, Hollywood-style finish.