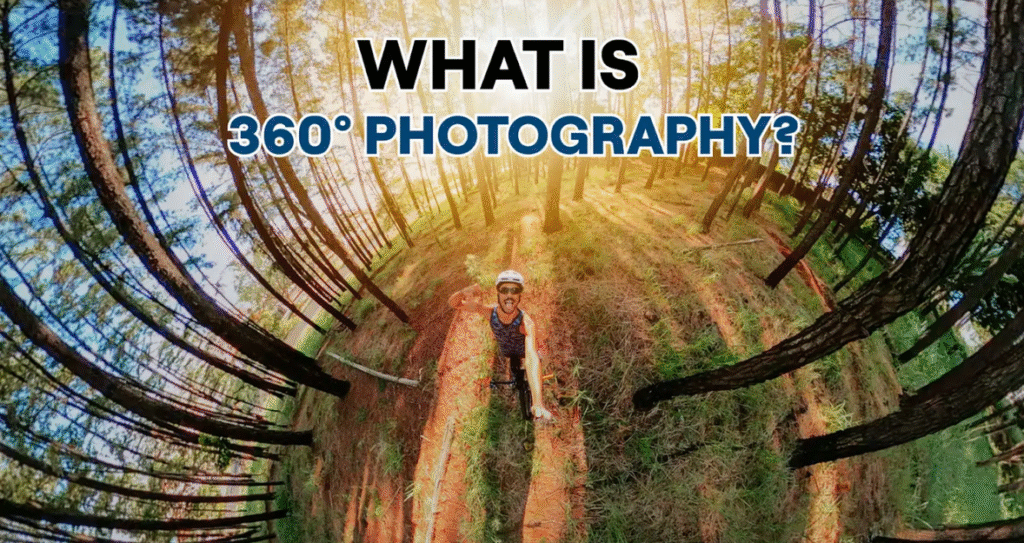
360-degree photo editing follows a slightly different process than regular image editing. The photos take all the angles of the scene, providing immersive experiences for VR, virtual tours, and social media. To present 360° photos as polished and professional, however, suitable editing is necessary. Suitable software and techniques can adjust stitching problems, add color enhancements, and eliminate unwanted objects without eliminating the spherical view.
First and foremost, selecting the best software is important. The top editing software for 360° images are Adobe Photoshop, Adobe Lightroom, Insta360 Studio, Ricoh Theta+, and PTGui. For amateur usage or fast edits, Theta+ and Insta360 Studio are good as they are free and easy to use. They come with the basic adjustments such as brightness, contrast, filters, and cropping. For expert work, Photoshop and Lightroom give full control over each aspect of the image.
Photoshop lets you edit in a 360-degree mode with its “3D > Spherical Panorama” function. You can perform spot edits, erase objects, or retouch spots without warping the spherical view. Lightroom is great at adding color, lighting, and sharpness boosts, and it handles RAW images from 360 cameras, maintaining quality.
While editing, begin with simple corrections like leveling the horizon and adjusting exposure, highlights, and shadows. Since 360 images usually capture bright skies and dark interiors in a single frame, lighting balance is important. Make use of the tone curve and white balance tools to achieve a natural, well-balanced look.
Then, correct stitching faults. These happen when the camera cannot merge images from various lenses seamlessly. You can manually repair these areas in Photoshop with the Clone Stamp or Healing Brush. Ensure that you zoom in and inspect edges, particularly around objects or persons near the camera, where faults tend to be more prevalent.
To remove unwanted objects or people from your 360 photo, use masking and selection tools carefully. Since the image wraps in a sphere, edits must blend smoothly to avoid noticeable lines or gaps when viewed in VR or 360 viewers.
Another useful hint is to steer clear of applying typical filters or overlays that break the immersive perspective. Instead, implement gentle color grading, vignettes, or lens corrections specific to 360 images. Numerous editing tools now natively provide these capabilities.
Once edited, export the picture in equirectangular format (most often JPEG or PNG) with metadata preserved. This keeps the photo compatible with 360° viewing platforms such as Facebook, YouTube, and VR headsets.
Conclusion
Editing 360° images can be daunting initially, but with proper software and methods, editing is a clean and gratifying experience. Applications like Photoshop, Lightroom, and Insta360 Studio provide beginner- as well as professional-grade features to allow you to deliver perfect panoramic images. Pay specific attention to correcting stitching, balancing light, and maintaining seamless edits. A well-edited 360 image boosts the viewer’s experience and makes your content engaging in today’s immersive digital environment.


